9 easy steps for organising printed photographs
Do you have drawers, boxes or even an attic full of printed photos? Can you imagine having them organised and digitised, ready to share with family and friends via the internet or on memory sticks which you can hand down to future generations? Jo Jacob of Benella Home Organisation takes us through her 9 easy steps for organising printed photographs.Organising your printed photographs
It is often said that in the event of a fire most people would save their pets and their photographs because both are irreplaceable, regardless of how much insurance they have. Our lives are operating at a slower pace post lockdown, so this is a great time to tackle the job of sorting out your printed photographs and putting them in a shareable format.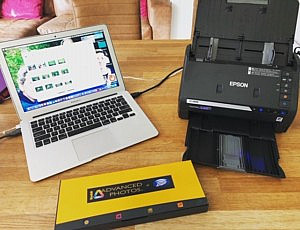
Here are some simple steps to help you get the job done:
- Clear a dining table or large flat surface ready for sorting.
- Gather all your photographs together, including those in albums and envelopes. Be careful when taking photographs out of albums, especially if they are stuck down. You can use dental floss to slide gently between the back of the photograph and the surface of the album or you can use a hairdryer to soften the glue.
- When you've collected everything together, you are ready for the first stage of sorting. You will need to have a binbag or shredder to hand for the photographs you are getting rid of and then take a deep breath, you can do this! Go through the photographs and dispose of any which are:
- Duplicates
- Blurred
- Have a finger across the lens
- Showing people you can't identify
- Multiples of the same scene
- Featuring a location you don't recognise
- You are now ready for the second stage of sorting, and can follow this basic system:
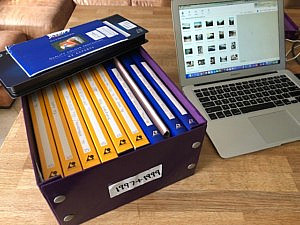
- "A" Photos: Create a pile of photographs you love and want to display or put in albums
- "B" Photos: Make a second pile of photographs that you don't necessarily want to put into albums or out on display but which you feel you should back-up
- Now go back through your A and B piles. Working at a table, and using Post-its to jot down your notes, start to put the photographs into date or story order. Ascertaining the date of an image can sometimes be difficult, so take note of the size and age of the people in the photograph and look for clues as to when it might have been taken. I often play detective and use a magnifying glass to count candles on a birthday cake or the printing on celebratory balloons.
- Once you have your photographs sorted and thinned out you need to scan them. You can do this yourself using a scanner or an iPhone or, if you have a lot of photographs, you can use a scanning company or an individual who offers this service. This is quite cost effective as scans work out at about 10p per photo.
- Now it's time to back up all your scans. You can use iCloud, Dropbox, other sharing websites or memory sticks to store and share these precious memories.
- It is important to label the photographs on your computer so people will know what they are. This is called adding metadata.
- Themes such as school trips, birthdays, holidays, family celebrations work well if you are making a photobook as a gift or for your own collection because they tell a story.
I hope you find these tips useful and that you are able to get going with sorting out your collection of physical photographs.
If this post has got you thinking about organising your precious photo collection or memorabilia, you can find an APDO-registered photo organiser here.